Assign profile and send welcome email
To grant access, you will need to direct to the organization details section of the client requesting access.
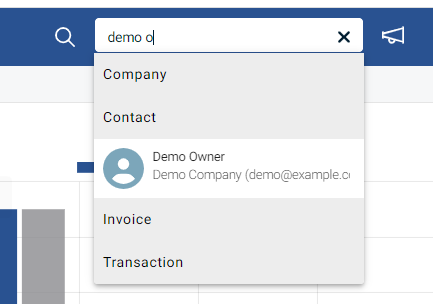
It is recommended to use the Search bar located in the upper right of the portal and begin typing the contact name. When the correct contact appears, click on the name.
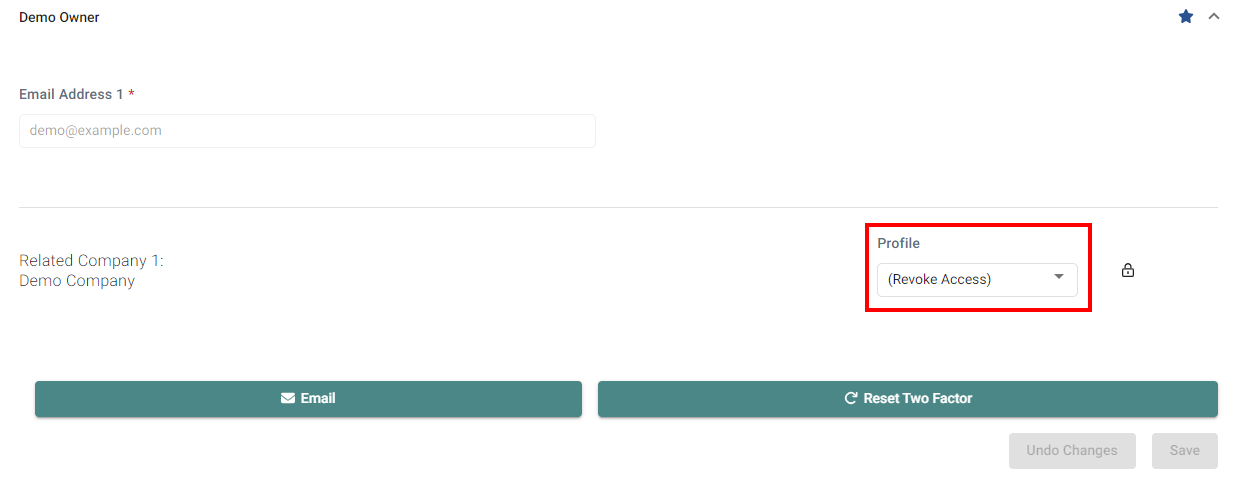
You will be directed to that contact card under organization details. You will need to click in the white of the contacts name to expand the contact information. If a profile has not been assigned, be sure to assign a profile and save before moving to the next step.
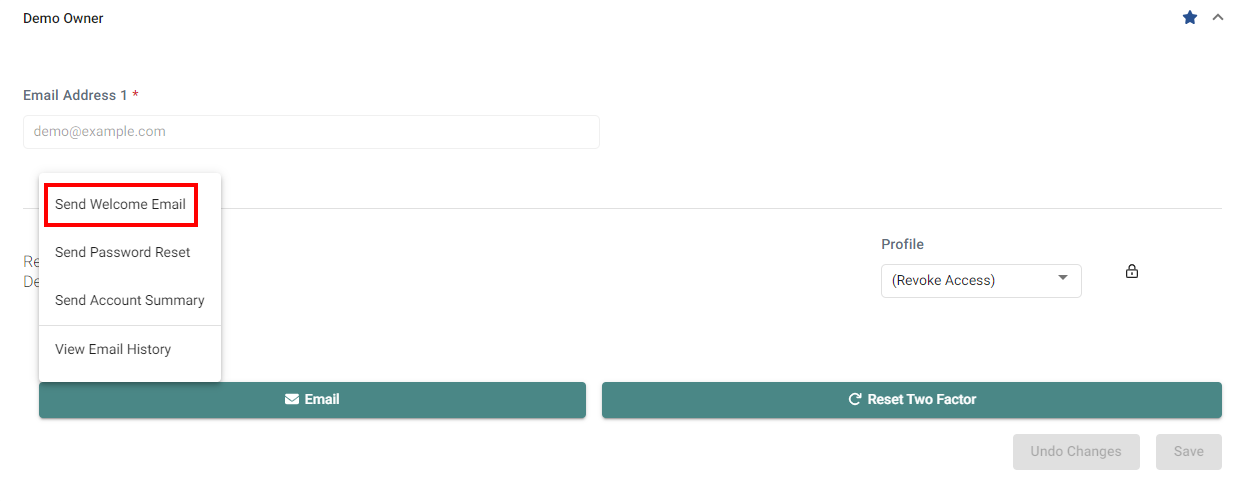
Once a Profile has been assigned, click Email + Send Welcome Email to send your client an email that will allow them to reset their password and gain access to the portal. 
Want to make updates to the existing welcome email template? Take a look at our article covering Client emails.


