Microsoft Great Plains setup guide
Step 1: Prerequisites for setup
-
Administrative access to the SQL server hosting the Dynamics GP company database.
-
Access to make or coordinate making changes to the firewall/network to allow access to a web server where a website will be hosted.
-
An existing server where you have administrative access to install applications and add the windows features needed to run a website.
-
Access to your DNS provider or the ability to request a CNAME.
-
DNS Entry binding the Public IP address for your IIS Host machine and SSL enabled port or your choosing, to your intended API site URL.
EXAMPLE https://gpapi.yourdomain.com
In order to ensure security and confidentiality of our customers' records, the REST API website needs to communicate using the HTTPS protocol. To enable that, a SSL certificate needs to be installed on the server where the REST API website will be hosted. The common name used in the SSL certificate will be used in your ConnectBooster Dynamics GP integration configuration.
SSL certificate
Get and install an SSL certificate that will be used to route traffic to the Rest API website that will be installed for ConnectBooster to interact with your Dynamics GP database.
Installing SSL certificate
-
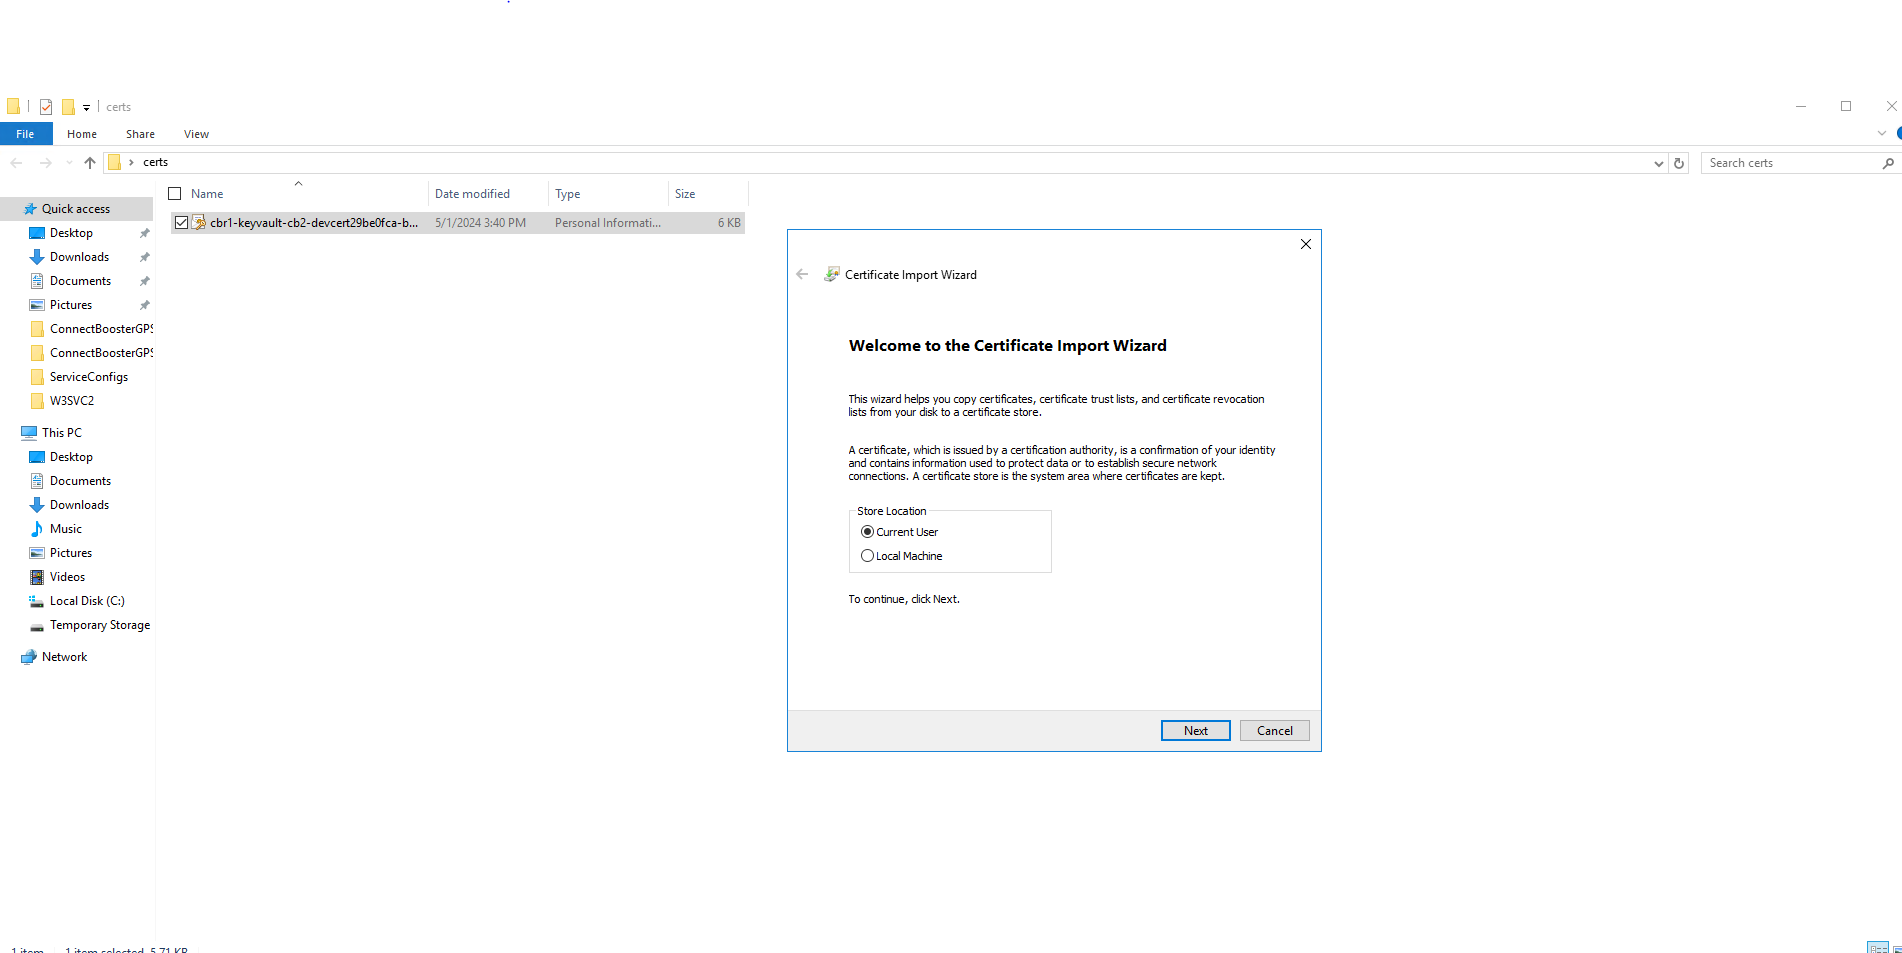
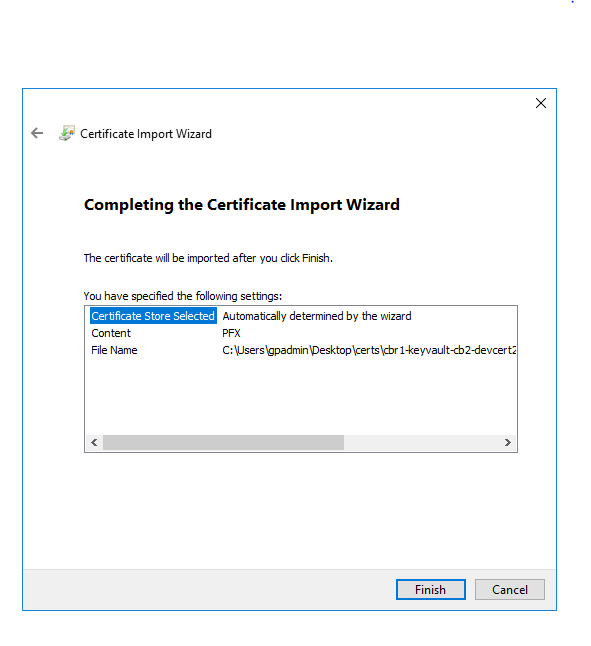
SSL certificate is required to encrypt and keep the data secure that is sent between ConnectBooster and the Server. Once you have the SSL certificate right click and click Install PFX. This will open a Certificate Import Wizard and you can select Local Machine and continue by selecting Next.
-
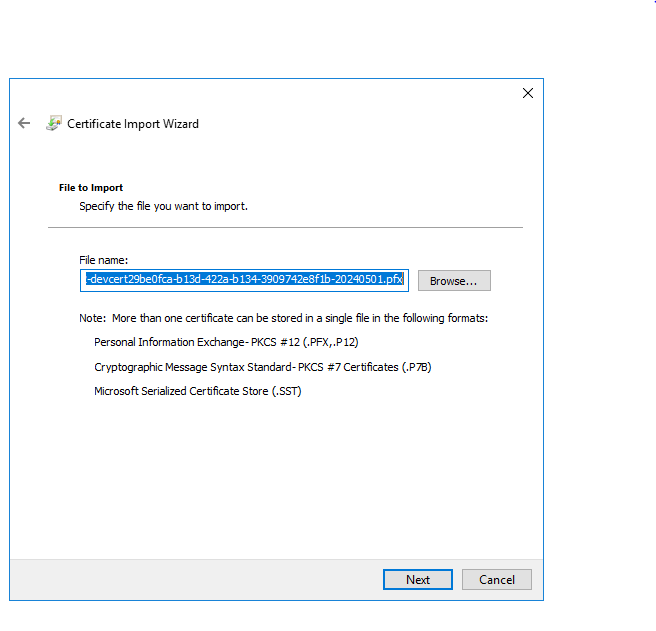
Then it will show you the .pfx file. Select Next.
-
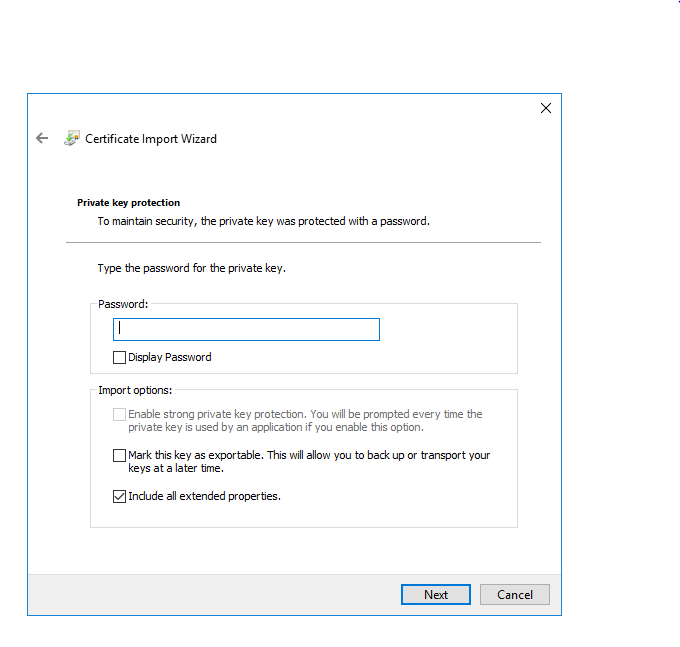
It will ask for the password. Select Next.
-
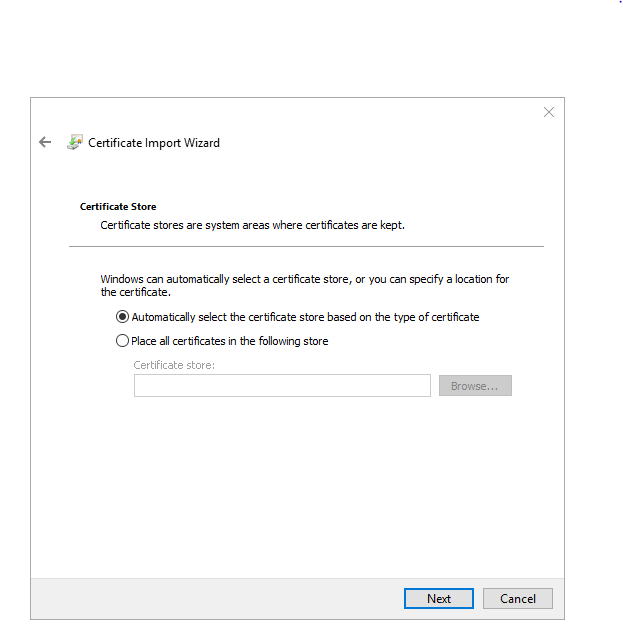
Then select Automatically select the certificate store based on the type of certificate. Select Next.
-
Then click Finish.
-
You have successfully installed the required SSL certificate.
2: CNAME
A CNAME is needed to point a hostname at your server and for registering the SSL certificate. The ability to create a CNAME or have one created is required.
Make sure you are in the DNS management section where you should see DNS Settings, DNS Record or something similar. It varies for different DNS providers.
Identify the domain or subdomain of which you want to create the CNAME for and choose Add Record or the CNAME record type label.
After you enter the required target record details, save the changes.
NOTE It will take some time to propagate those settings.
For more info on Adding CNAME for Cloudflare: Set up a partial (CNAME) zone · Cloudflare DNS docs
3. Firewall port rules
In order to safeguard both networks, you will need to configure a firewall port rule. The port should be open to inbound HTTPS POST and GET traffic. You can choose any port, but we recommend something in the 8000 range.
NOTE You will need the number for the port later in the setup.
Step 2: Download zip file containing install script and website
This PowerShell script is the core part of your GP install. This will prompt for the required parameters $DynamicsDatabaseName, $Port, and $Domain . These are the steps needed for a successful installation:
-
Log into your ConnectBooster Portal
-
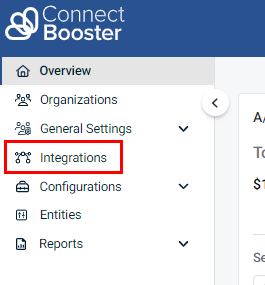
Direct to Integrations in the left-hand menu
-
Select Manage in the lower right corner of the Microsoft GP integration and select Settings.
-
Download the config file noted in the integrations settings
-
Copy the downloaded zip file to the server where the website will be hosted.
-
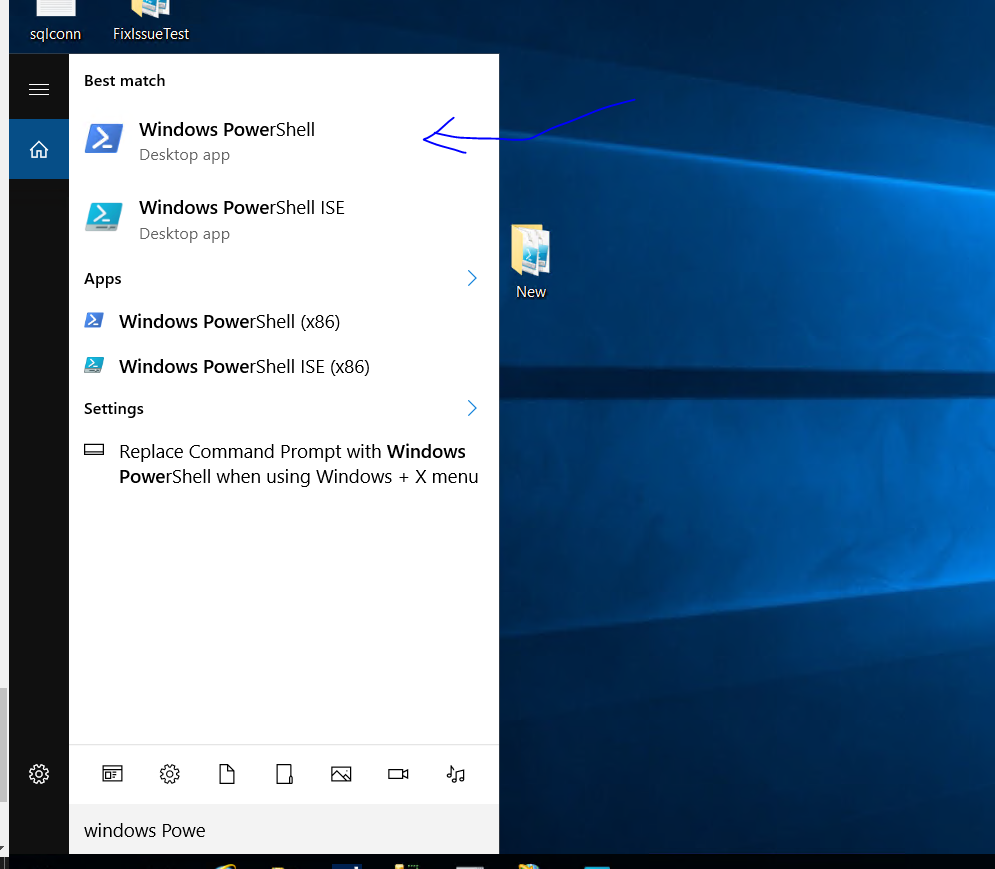
Extract the ConnectBoosterGPSetup.zip file. Run Windows PowerShell as Admin.
IMPORTANT Failure to run the script as an administrator will present an error message, so be sure to run this script as an administrator.
Step 3: Run the PowerShell Script
Navigate to the ConnectBoosterGPSetup extracted file in terminal and run the install script by using command .\ConnectBoosterInstall.ps1
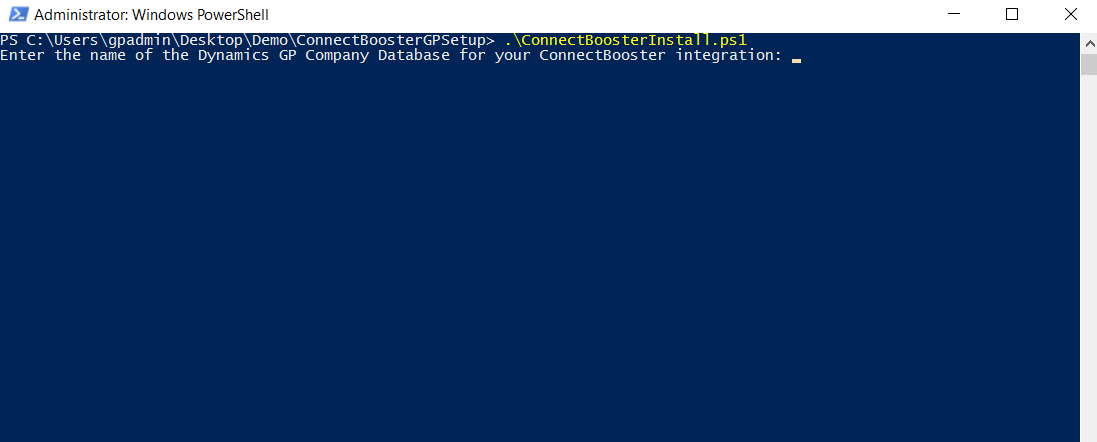
You will be prompted for your Dynamics GP Company Database name.
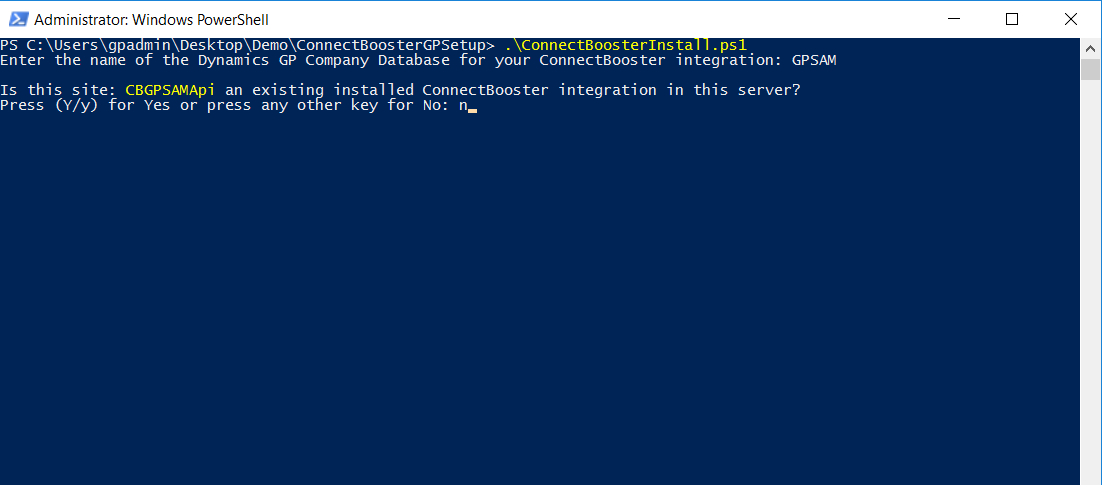
We use GPSAM for testing, please use your own for install.
Here, if you already went through the install before with this script and you want to perform an existing site update, press any key. Otherwise, if the site installed is found, it will show your site information.
To cancel it, press “n”.
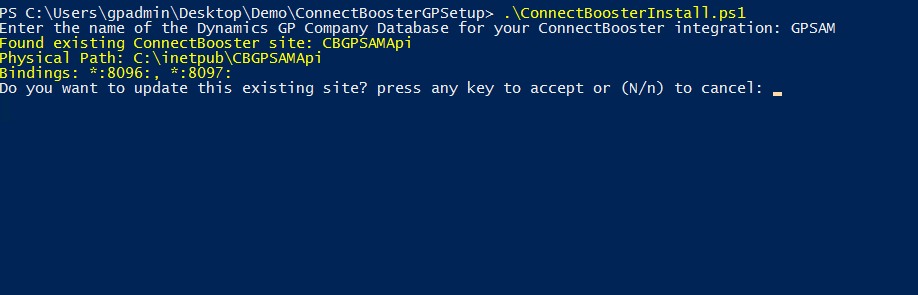
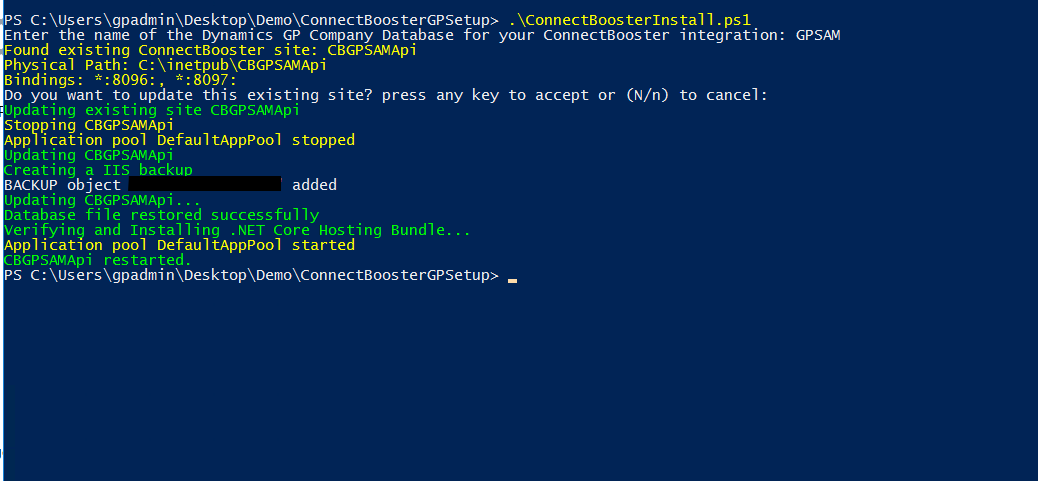
After that it will create a IIS backup and perform the update necessary. You will use this to update an existing site.
However, if the install is the first time or the site mentioned in prompt does not exist in your server please, press any key or press “n”.
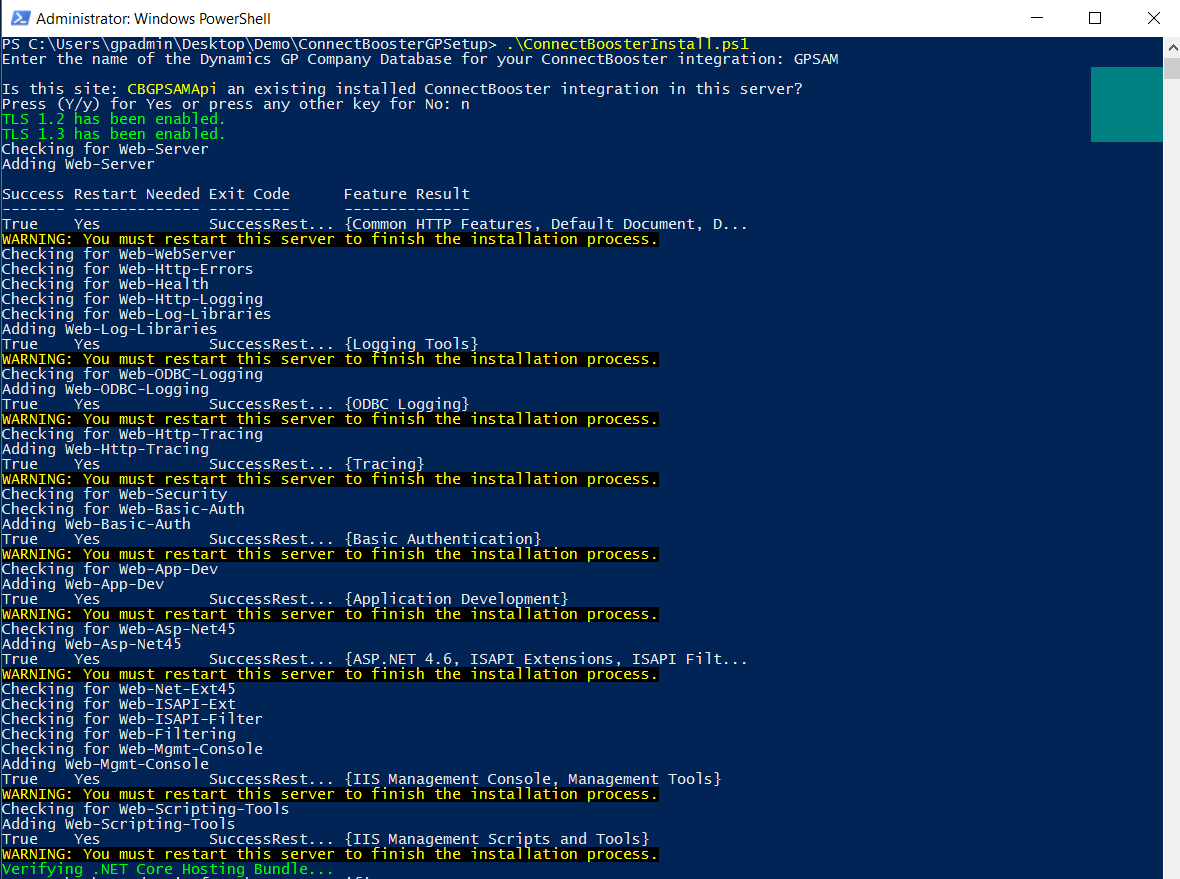
After that, the script will install the required Windows features and hosting bundle.
NOTE There might be a WARNING: You must restart this server to finish the installation process. prompt. You just need to restart the server if the app is not responding. This will only get prompted in first install or if features are missing from the server.
Then, it will prompt for host domain for SSL certificate. Please enter your SSL certificate domain.
This will be the domain used when creating the CNAME. If a wildcard domain name was used omit the *. and only include the base domain.
EXAMPLE mycompanyname.com, cbapi.mycompanyname.com.

Then, you will be prompted to enter the HTTPS Port used to configure the firewall.
You will also be prompted for an HTTP port. The HTTP port should not be opened in the firewall. The HTTP port will only be used to access the website locally on the server to manage configuration and see logs.
IMPORTANT The ports entered above are just examples. The PowerShell script will ask for a HTTP port for running locally to configure and view logs. This port does NOT need to be exposed through the firewall.
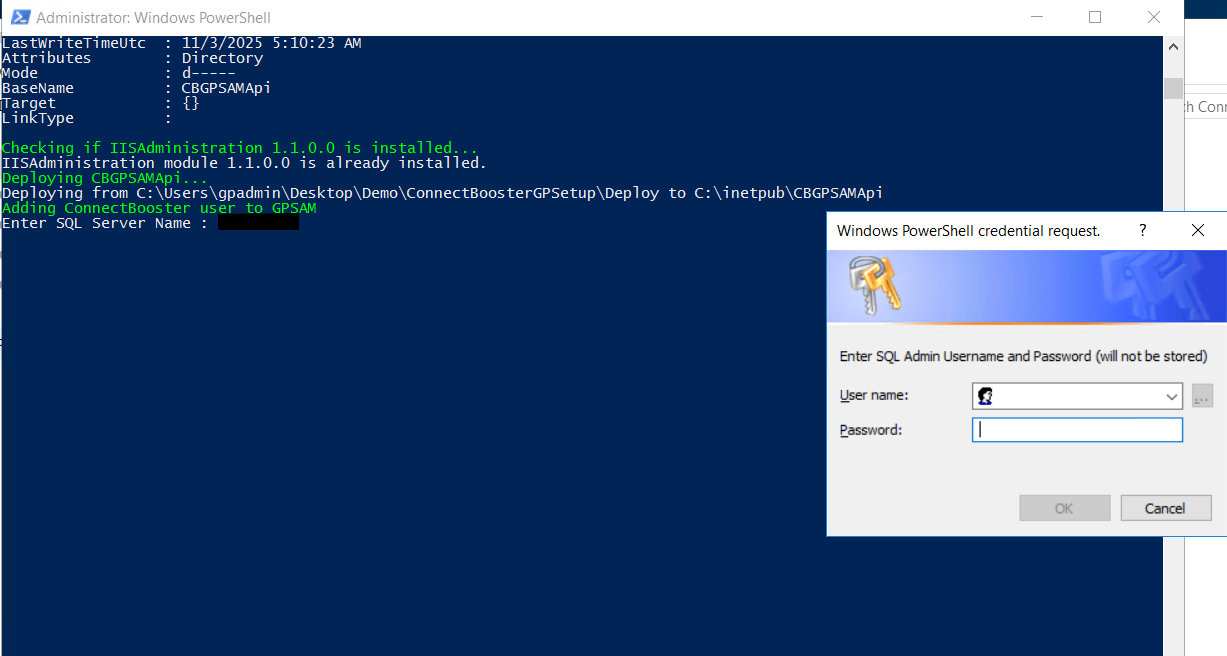
You will be prompted for an SQL Server Name and Password. These are the credentials that have administrative access to the SQL server where the Dynamics GP company in which the integration is being setup.
NOTE These credentials will only be used during this setup. The credentials will not be stored. We will create a different user with limited access for the integration.
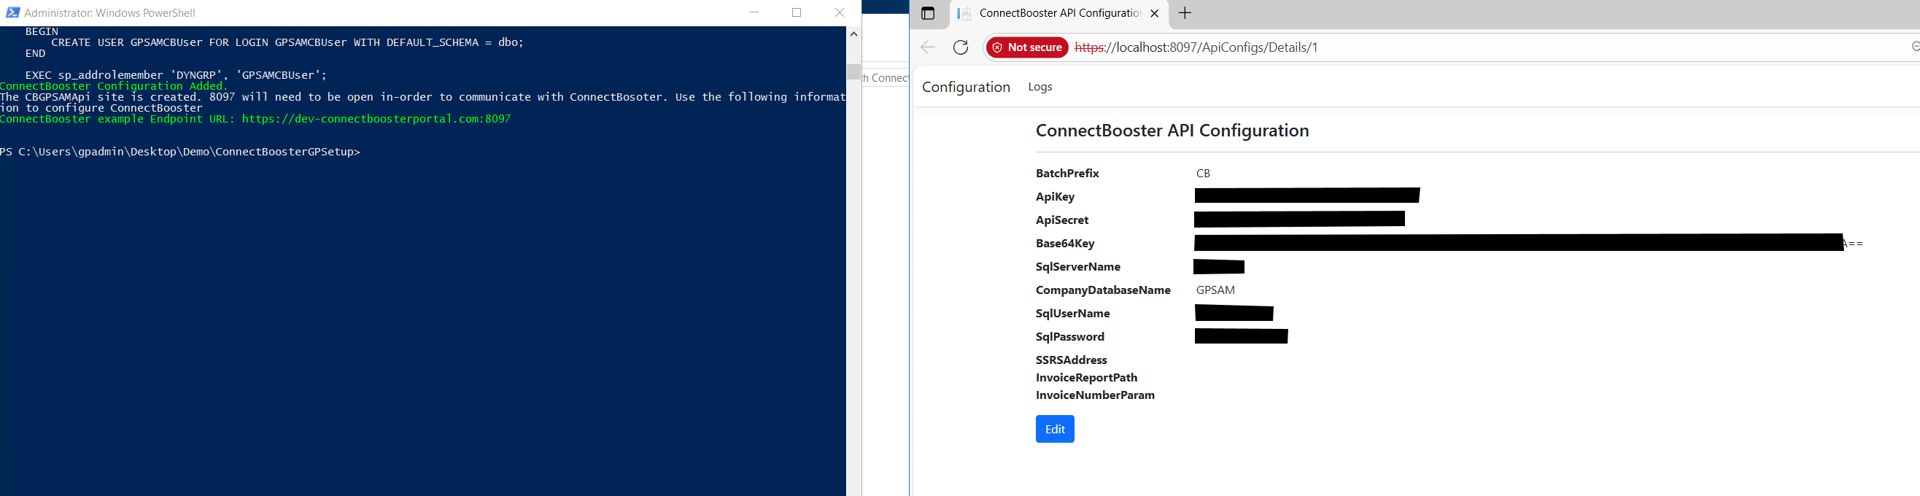
The SQL database user that will be created is based on the Company Database name following the format CompanyDatabaseNameCBUser to identify the user as being used for the ConnectBooster integration.
EXAMPLE For the GPSAM test company database the user would be GPSAMCBUser.
Once the user is created the website for configuration and viewing logs should open.
ALERT It is highly recommended to set the site that is being installed with the proper firewall port rules and bindings with specific IPs as well. Please verify the site installed has correct permissions, authentications and bindings. Make sure the site installed is not publicly exposed.
Step 4: ConnectBooster Configuration
Open your companyname.connectboosterportal.com website and navigate to the Integrations page and fill in API Key , API Secret and Endpoint URL found in the GP integration settings.
Use the API Key and Secret from the server configuration outlined in the previous steps.
The Endpoint URL should include HTTPS, the hostname used in setting up the CNAME, and the HTTPS port that was opened in the firewall.
Example: https://cbapi.mycompanyname.com:8097
Make sure your endpoint URL port is HTTPS, available to use, properly configured, and open.
After you save the settings, you should be able to run the Test Connection. If the connection is properly established you will get a success dialog box in the lower left-hand corner.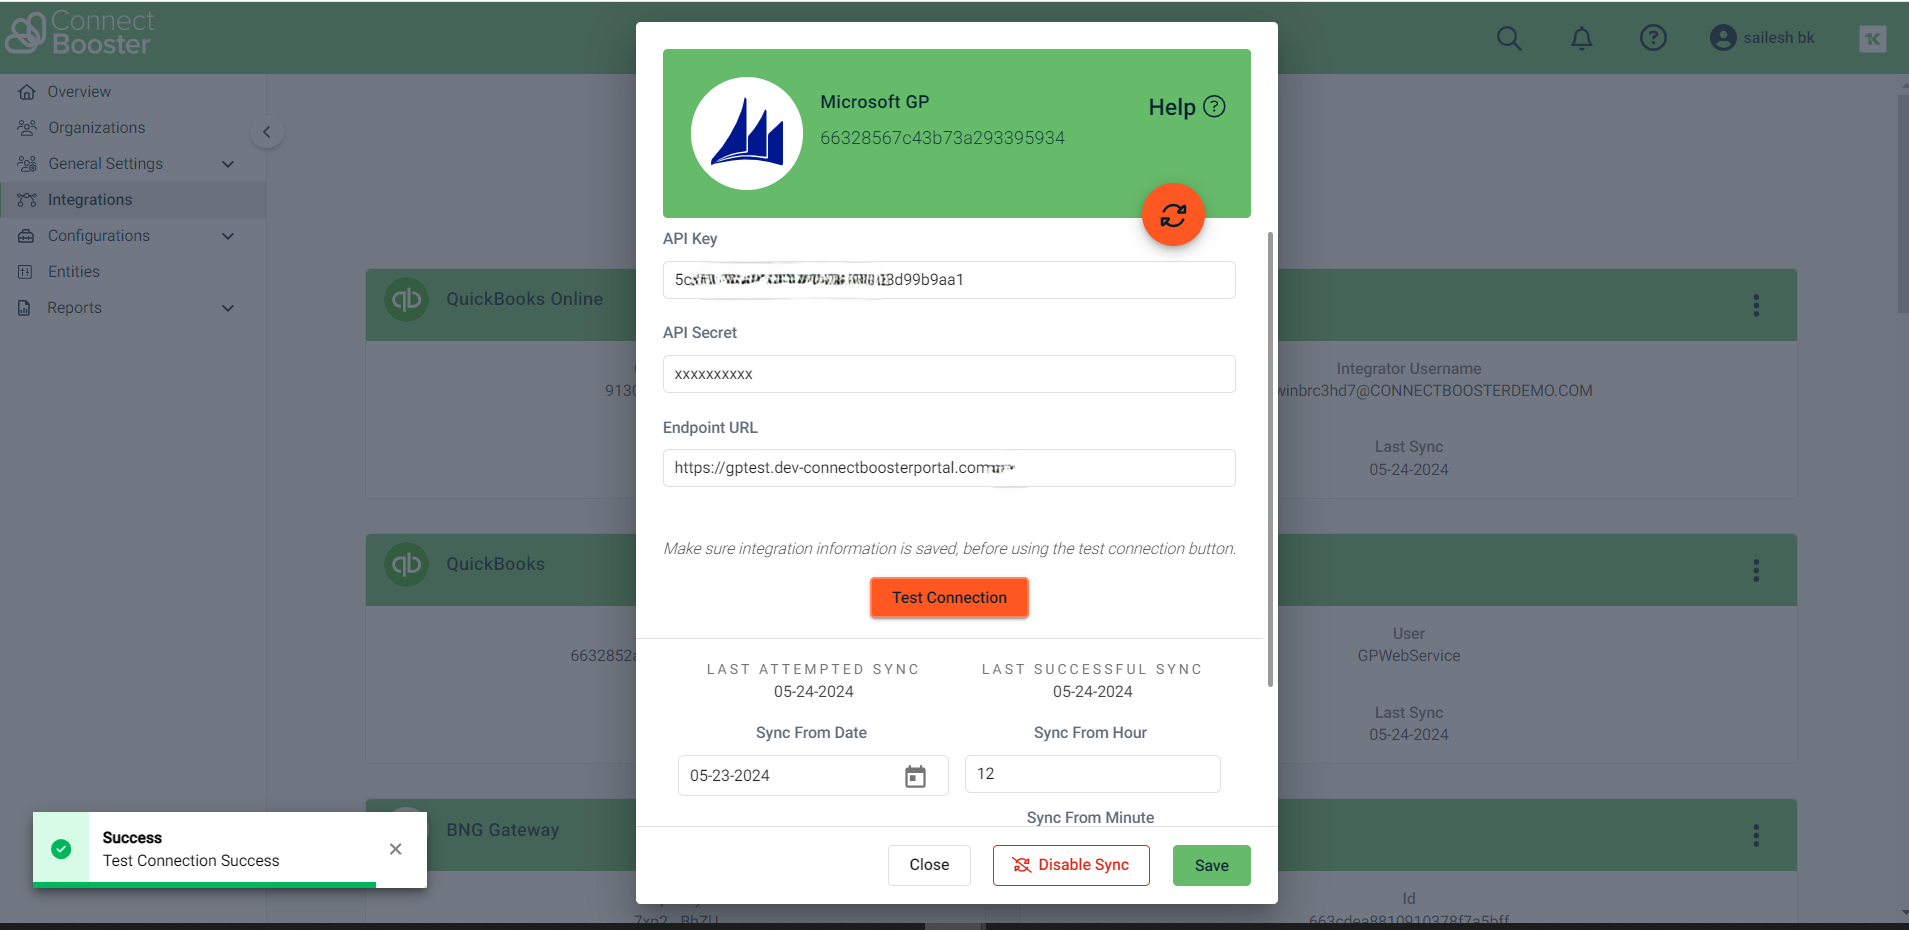
| Accepted card names | |
|---|---|
| Visa | Visa, VC, VS |
| MasterCard | MasterCard, MC, Master Card |
| Discover | Discover, DISC, DS |
| American Express | AmericanExpress, American Express, AMEX, American Ex, AM EX, AX |
| E-Check/ACH | ACH, E-check, Echeck, E check, E-cheque, Echeque, E cheque, EFT |
Step 5: (Optional)
Open your ConnectBooster portal and click on Integrations. Direct to the “Custom” integration. If this integration does not exist, please submit a ticket through our Helpdesk to have them add it for you.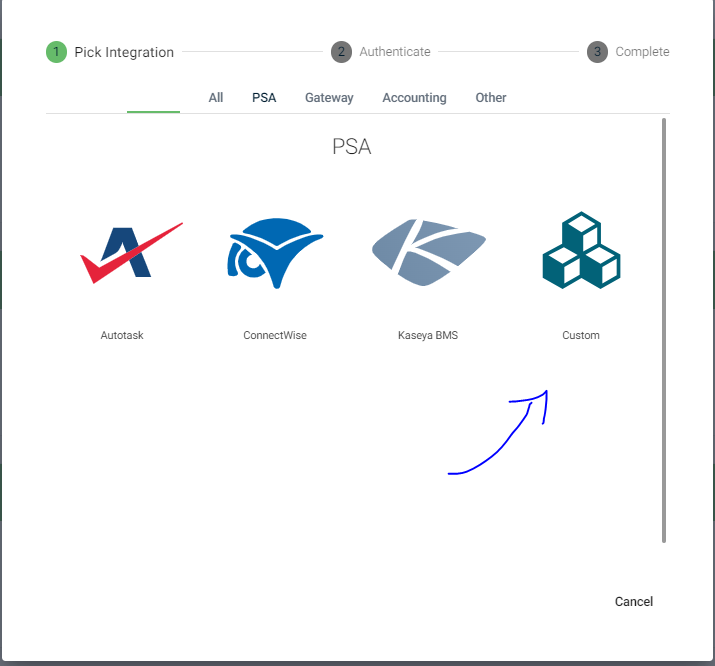
Open your new integration and give it the name, SSRS Connector.
Click the GetInvoiceImage button and fill in the integration settings. Use a GET method and enter your URL for the SSRS Connector you set up in the configurations page on the server with the website. The full URL would be https://yoururl/reports/Invoice/. Click the Add Header button with the Header Key named authorization. Paste the Base64 encoded key value from ApiConfigs page of site. Bes sure to Save your settings, then direct to Configurations + Billing.
In the Invoice Image Data section, check the box of your SSRS Connector integration and move it to the top of the list. Click Save.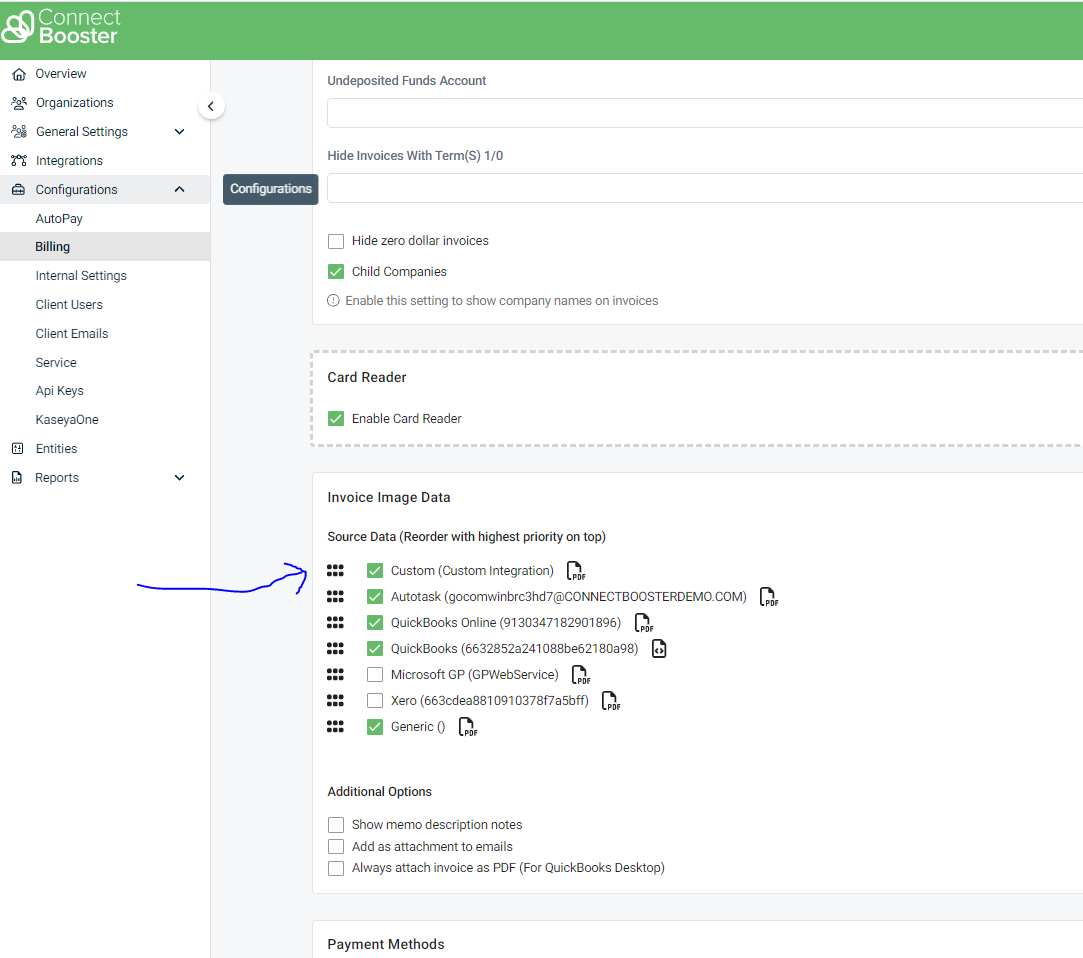
Congratulations! You have now set up the ConnectBooster SSRS Connector.


