Pay invoices through the Autotask Client Portal
Overview
This feature allows customers viewing an invoice in Autotask to seamlessly pay the invoice by being redirected to ConnectBooster. The integration ensures a secure, single sign-on experience and keeps invoice statuses synchronized between Autotask and ConnectBooster.
Prerequisites
-
Create a dedicated ConnectBooster API user with ConnectBooster - ConnectBooster as the Integration Vendor. in Autotask, if one has not already been set up. Refer to Adding or editing an API user.
-
Autotask integration enabled and configured in ConnectBooster using the credentials of the API user created above.
-
QuickBooks Online integration enabled and configured in both ConnectBooster and Autotask.
-
Company name must match exactly in both QuickBooks Online and Autotask.
-
Company must be enabled for Client Portal and have at least one active contact with access to invoices. Refer to Managing Client Portal organizations.
-
An eligible, unpaid invoice for the company found in QuickBooks Online.
Pay an invoice
For your clients to pay an invoice through their Autotask Client Portal, they will need to:
-
Log in to the Autotask Client Portal.
-
Click the Invoices button.
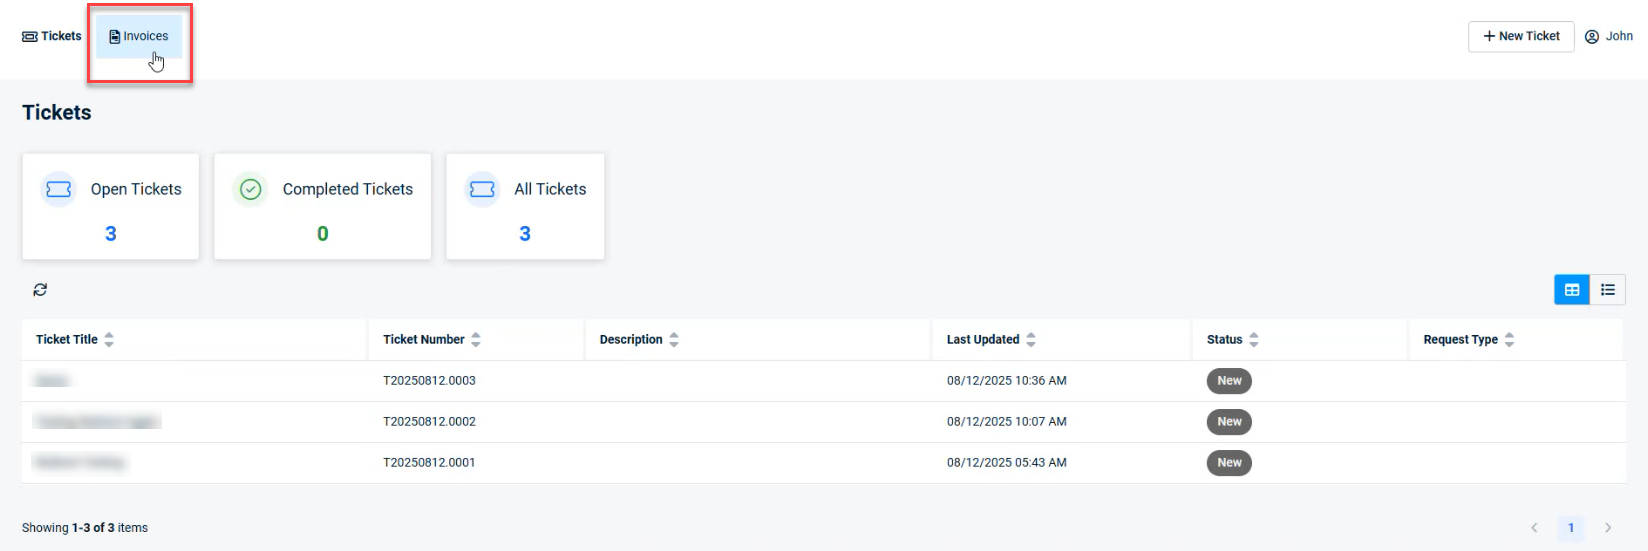
-
Click the Pay Now button for the invoice to pay. This will open the Open Invoices page in ConnectBooster and allow the selected invoice to be paid. Refer to Open invoices - internal user.

-
Click Pay.
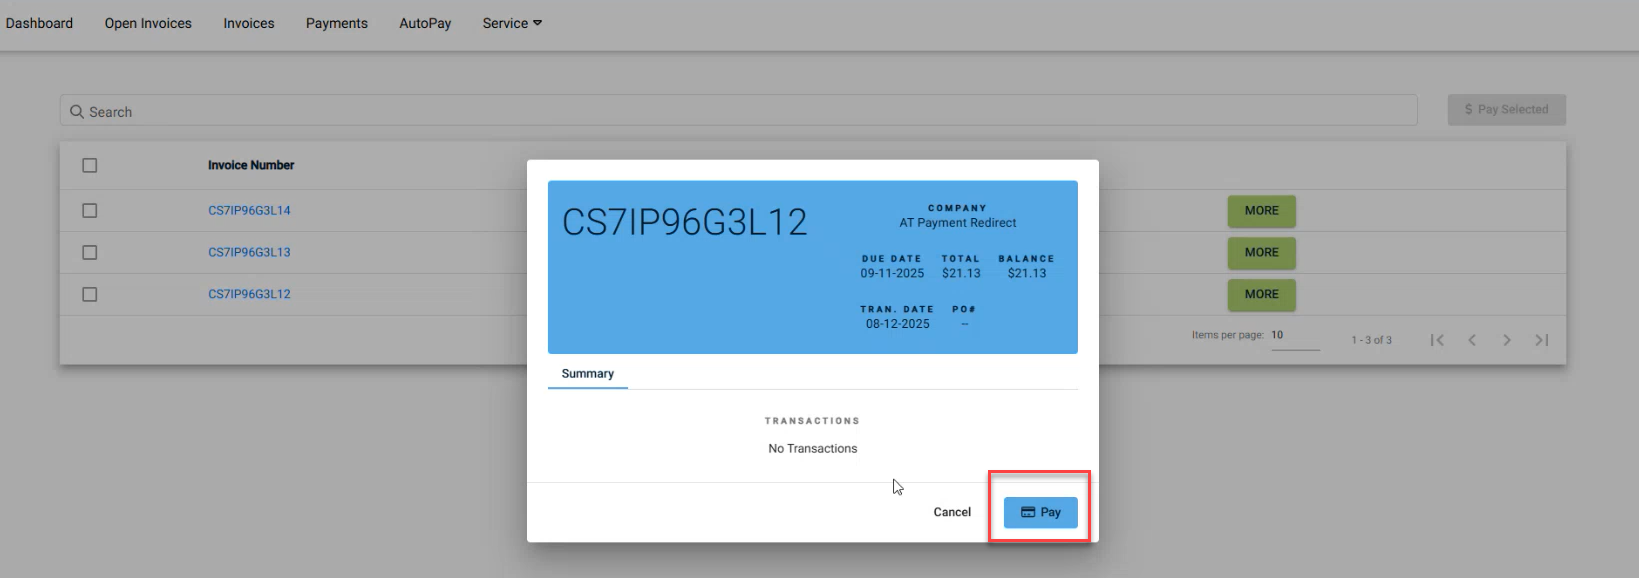
-
After a successful payment is made, it will be reconciled to your Accounting package as normal.


