Kaseya 365 Ops Getting Started Guide
PERMISSIONS Admin role in KaseyaOne
PERMISSIONS User accounts with the highest permission level (Master, Superuser, Administrator, or Global Administrator) for each module in the Kaseya 365 subscription. If you need an account with a higher permission level, contact your module's administrator.
This article describes how to access your ConnectBooster instance for the first time and get started setting up your account. You will want to fully set up ConnectBooster before introducing it to the rest of your company.
Within 48 hours of your subscription's start date, you will receive a Welcome to Kaseya 365 email. You can start setting up your new module as soon as you receive this email. It contains a link to the KaseyaOne portal— the central hub where you manage your subscriptions and access all of your Kaseya 365 modules.
IMPORTANT Before you click Activate, make note of your login details.
Take the following steps to Activate ConnectBooster for Kaseya 365 Ops:
-
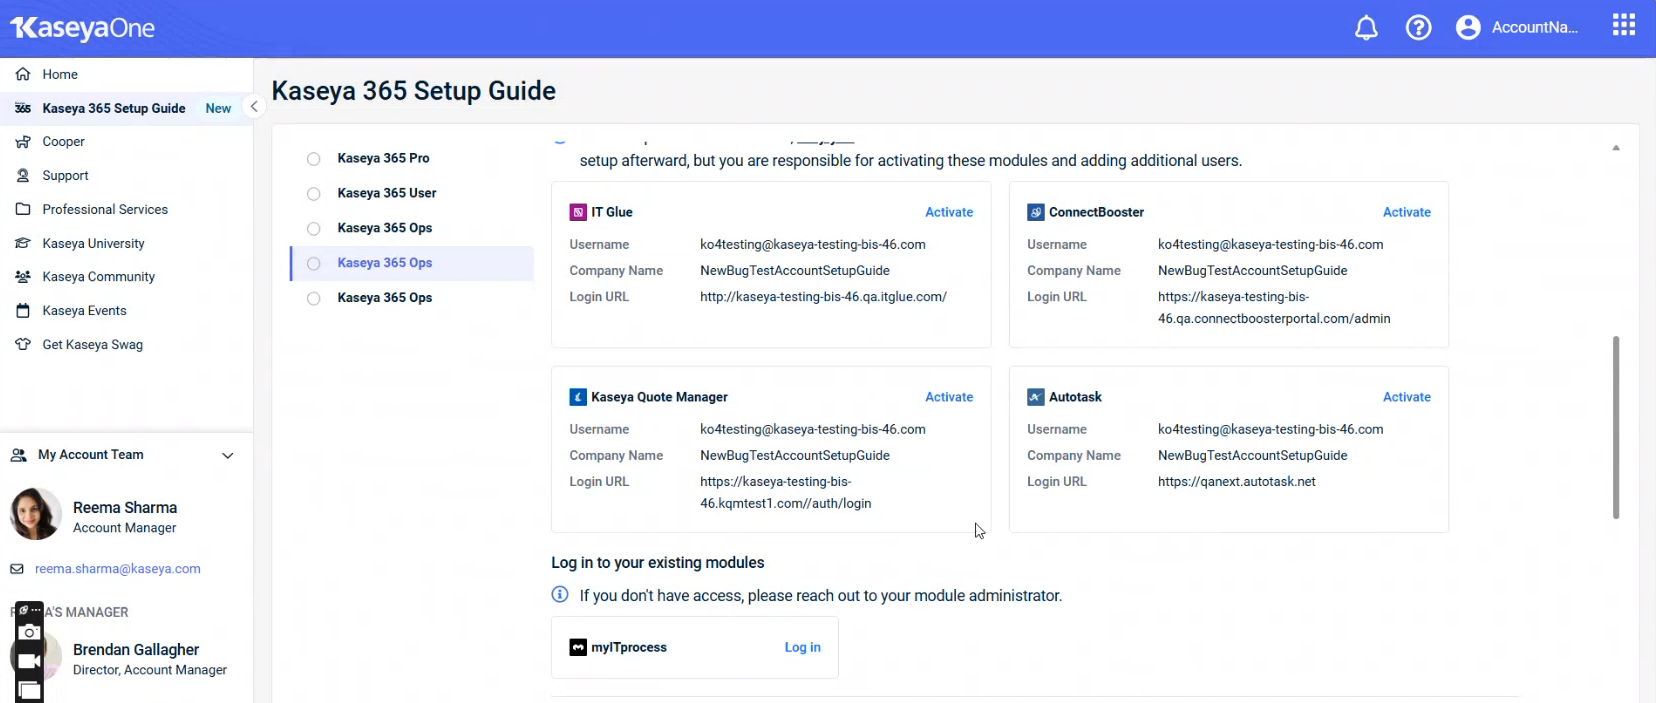
On the KaseyaOne Kaseya 365 Setup Guide tab, go to Step 2 and find ConnectBooster under New Modules.
-
Click Activate.
-
On the Reset Password window, create and confirm your Password.

NOTE The password must meet all specified requirements before it can be accepted.
-
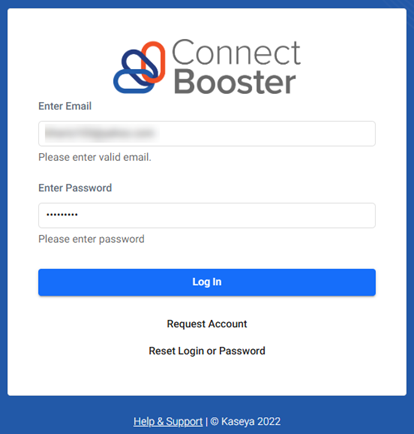
Click Reset Password. The login page opens:
-
In the Enter Email field, enter your email address.
-
In the Enter Password field, enter your password.
-
Click Log In.
-
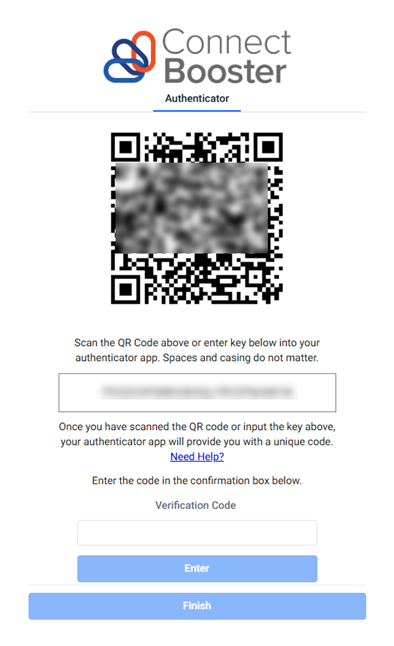
The Two-factor Authentication Setup page opens:
-
Scan the QR code using an authenticator app like Google Authenticator, then enter the numerical code that was generated into the Verification Code field. Refer to 2-factor authentication for internal users.
-
Click Enter.
-
Click Finish. The Overview page opens:
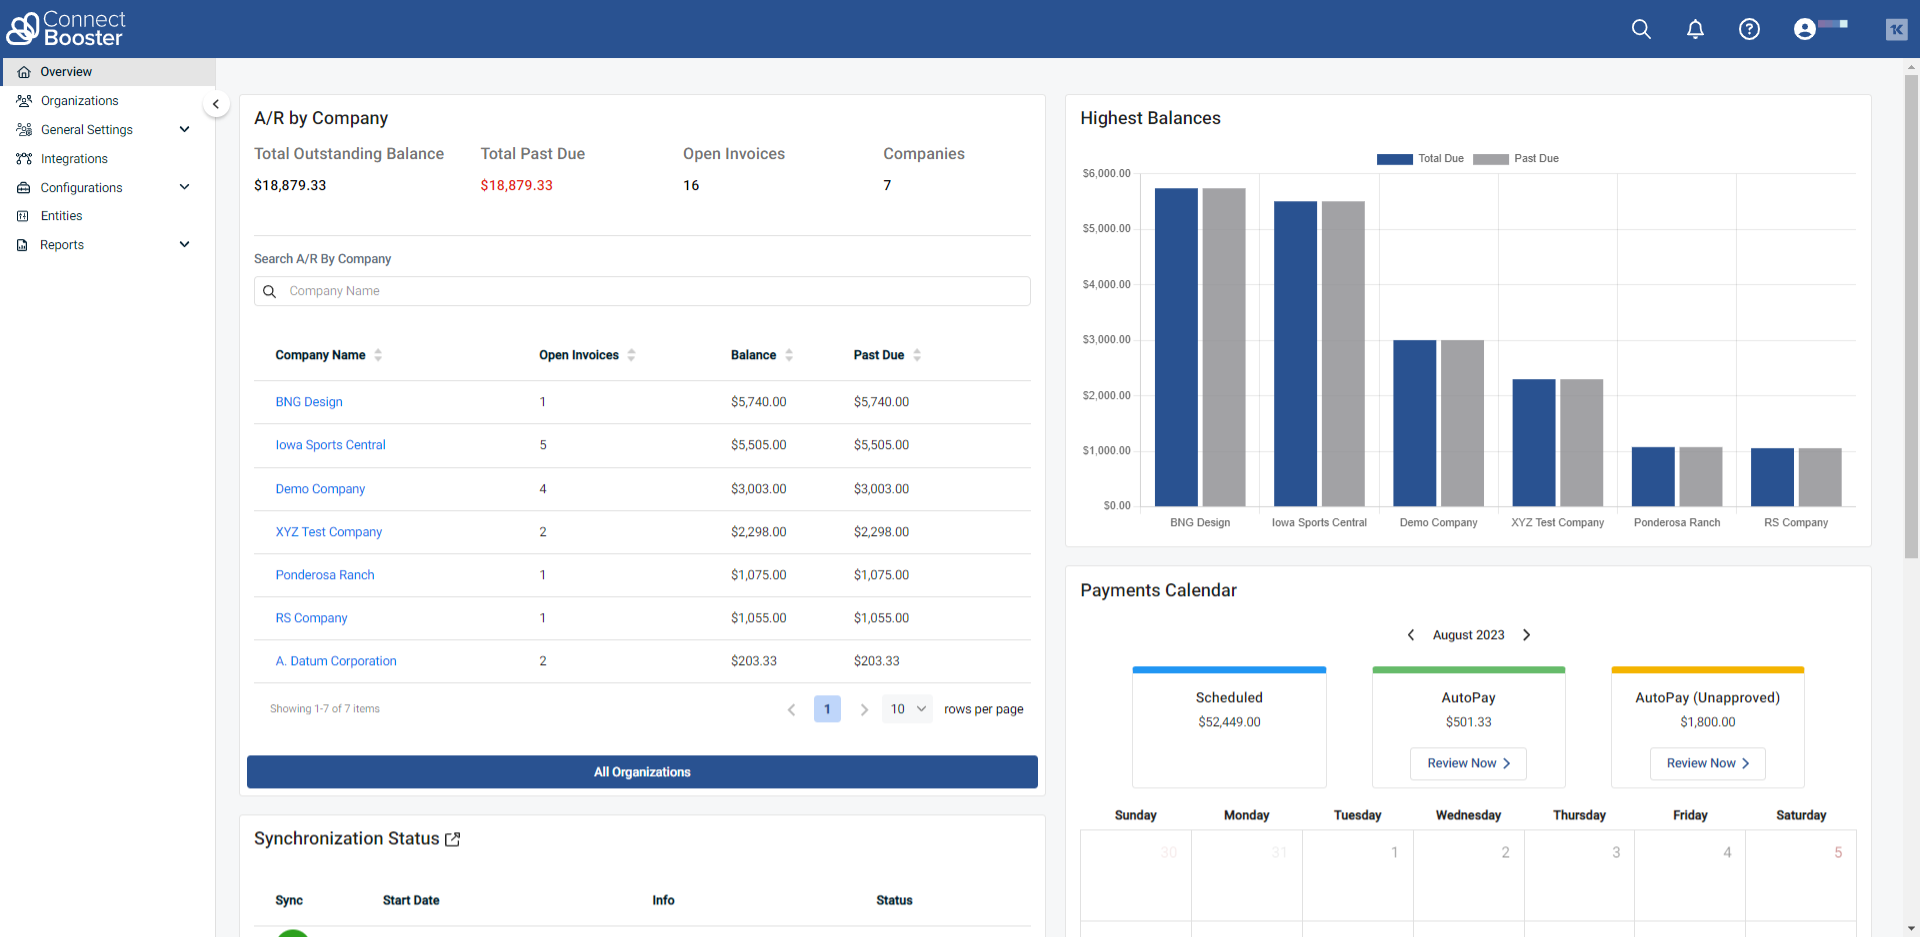
Before you can use ConnectBooster, you need to select a payment gateway and your accounting package. This will be covered in your first session with your implementation consultant. Once your accounting integrations is set up, the next time you log in to ConnectBooster, your self-guided onboarding will launch. Refer to Complete self-paced onboarding for details.
Next steps: Configure KaseyaOne Unified Login.
KaseyaOne Unified Login connects your Kaseya modules with KaseyaOne so that you can log in once - to KaseyaOne - and access all your Kaseya modules.
NOTE The first task in your self-paced onboarding is setting up Unified Login. Follow the steps in the myITprocess walk-through to quickly configure this setting. You can also follow the steps outlined below.
-
Navigate to Configurations > KaseyaOne.
-
On the KaseyaOne page, in the Unified Login section, turn on the Enable Log in with KaseyaOne toggle to enable the setting.

-
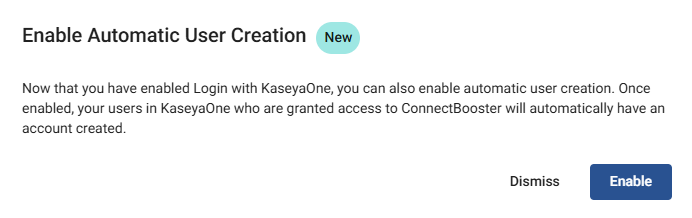
The optional Enable Automatic User Creation confirmation will appear.
-
Click Enable if you wish to automatically create a ConnectBooster account for your users whom have been granted access to ConnectBooster through the KaseyaOne portal.
-
Click Dismiss if you do not wish to enable this feature.
NOTE Automatic User Creation can be enabled at anytime. Refer to Automatic User Provisioning.
-
-
Unified Login for ConnectBooster is now enabled.
Next steps: Complete self-paced onboarding
IMPORTANT Self-paced onboarding does not launch until you have your accounting integration set up. This is done in your first consulting session.
The onboarding walks you through several required configurations that you will need to setup before any future sessions with your implementation consultant that covers ConnectBooster.
Integrations
ConnectBooster integrates with the PSA tool included in your Kaseya 365 Ops subscription, either Autotask or BMS. These integrations reduce rework by simplifying your billing process.
NOTE This integration will be configured for you in a session with an implementation consultant from Kaseya.


